Wednesday, January 2, 2019

Apple Bag finished

Now to finish the Apple handbag.


I sewed the lining fabric right sides together, with a 1/2 inch seam allowance, on three sides leaving the top open. Then, I sewed the canvas bag together the same way.
Laying the bag flat, I made marks on the lower edges 1 1/4 inch in from the seam allowance. Opening up the bottom corner seams, I put a pin at each mark. Then, I drew a stitch line. I stitched across this line on both bottom corners of the bag. This creates a 2 1/2 inch gusset. I did the same for the lining of the bag. I didn't cut off the corner triangle because I think it weakens the bag.
Then, I placed the lining into the canvas bag. I also covered a 2 1/2 inch wide piece of cardboard with the lining fabric and placed this is the bottom of the bag.

To finish the top, I made a 1 inch mark along the top, folded and press it. I did the same for the liner.
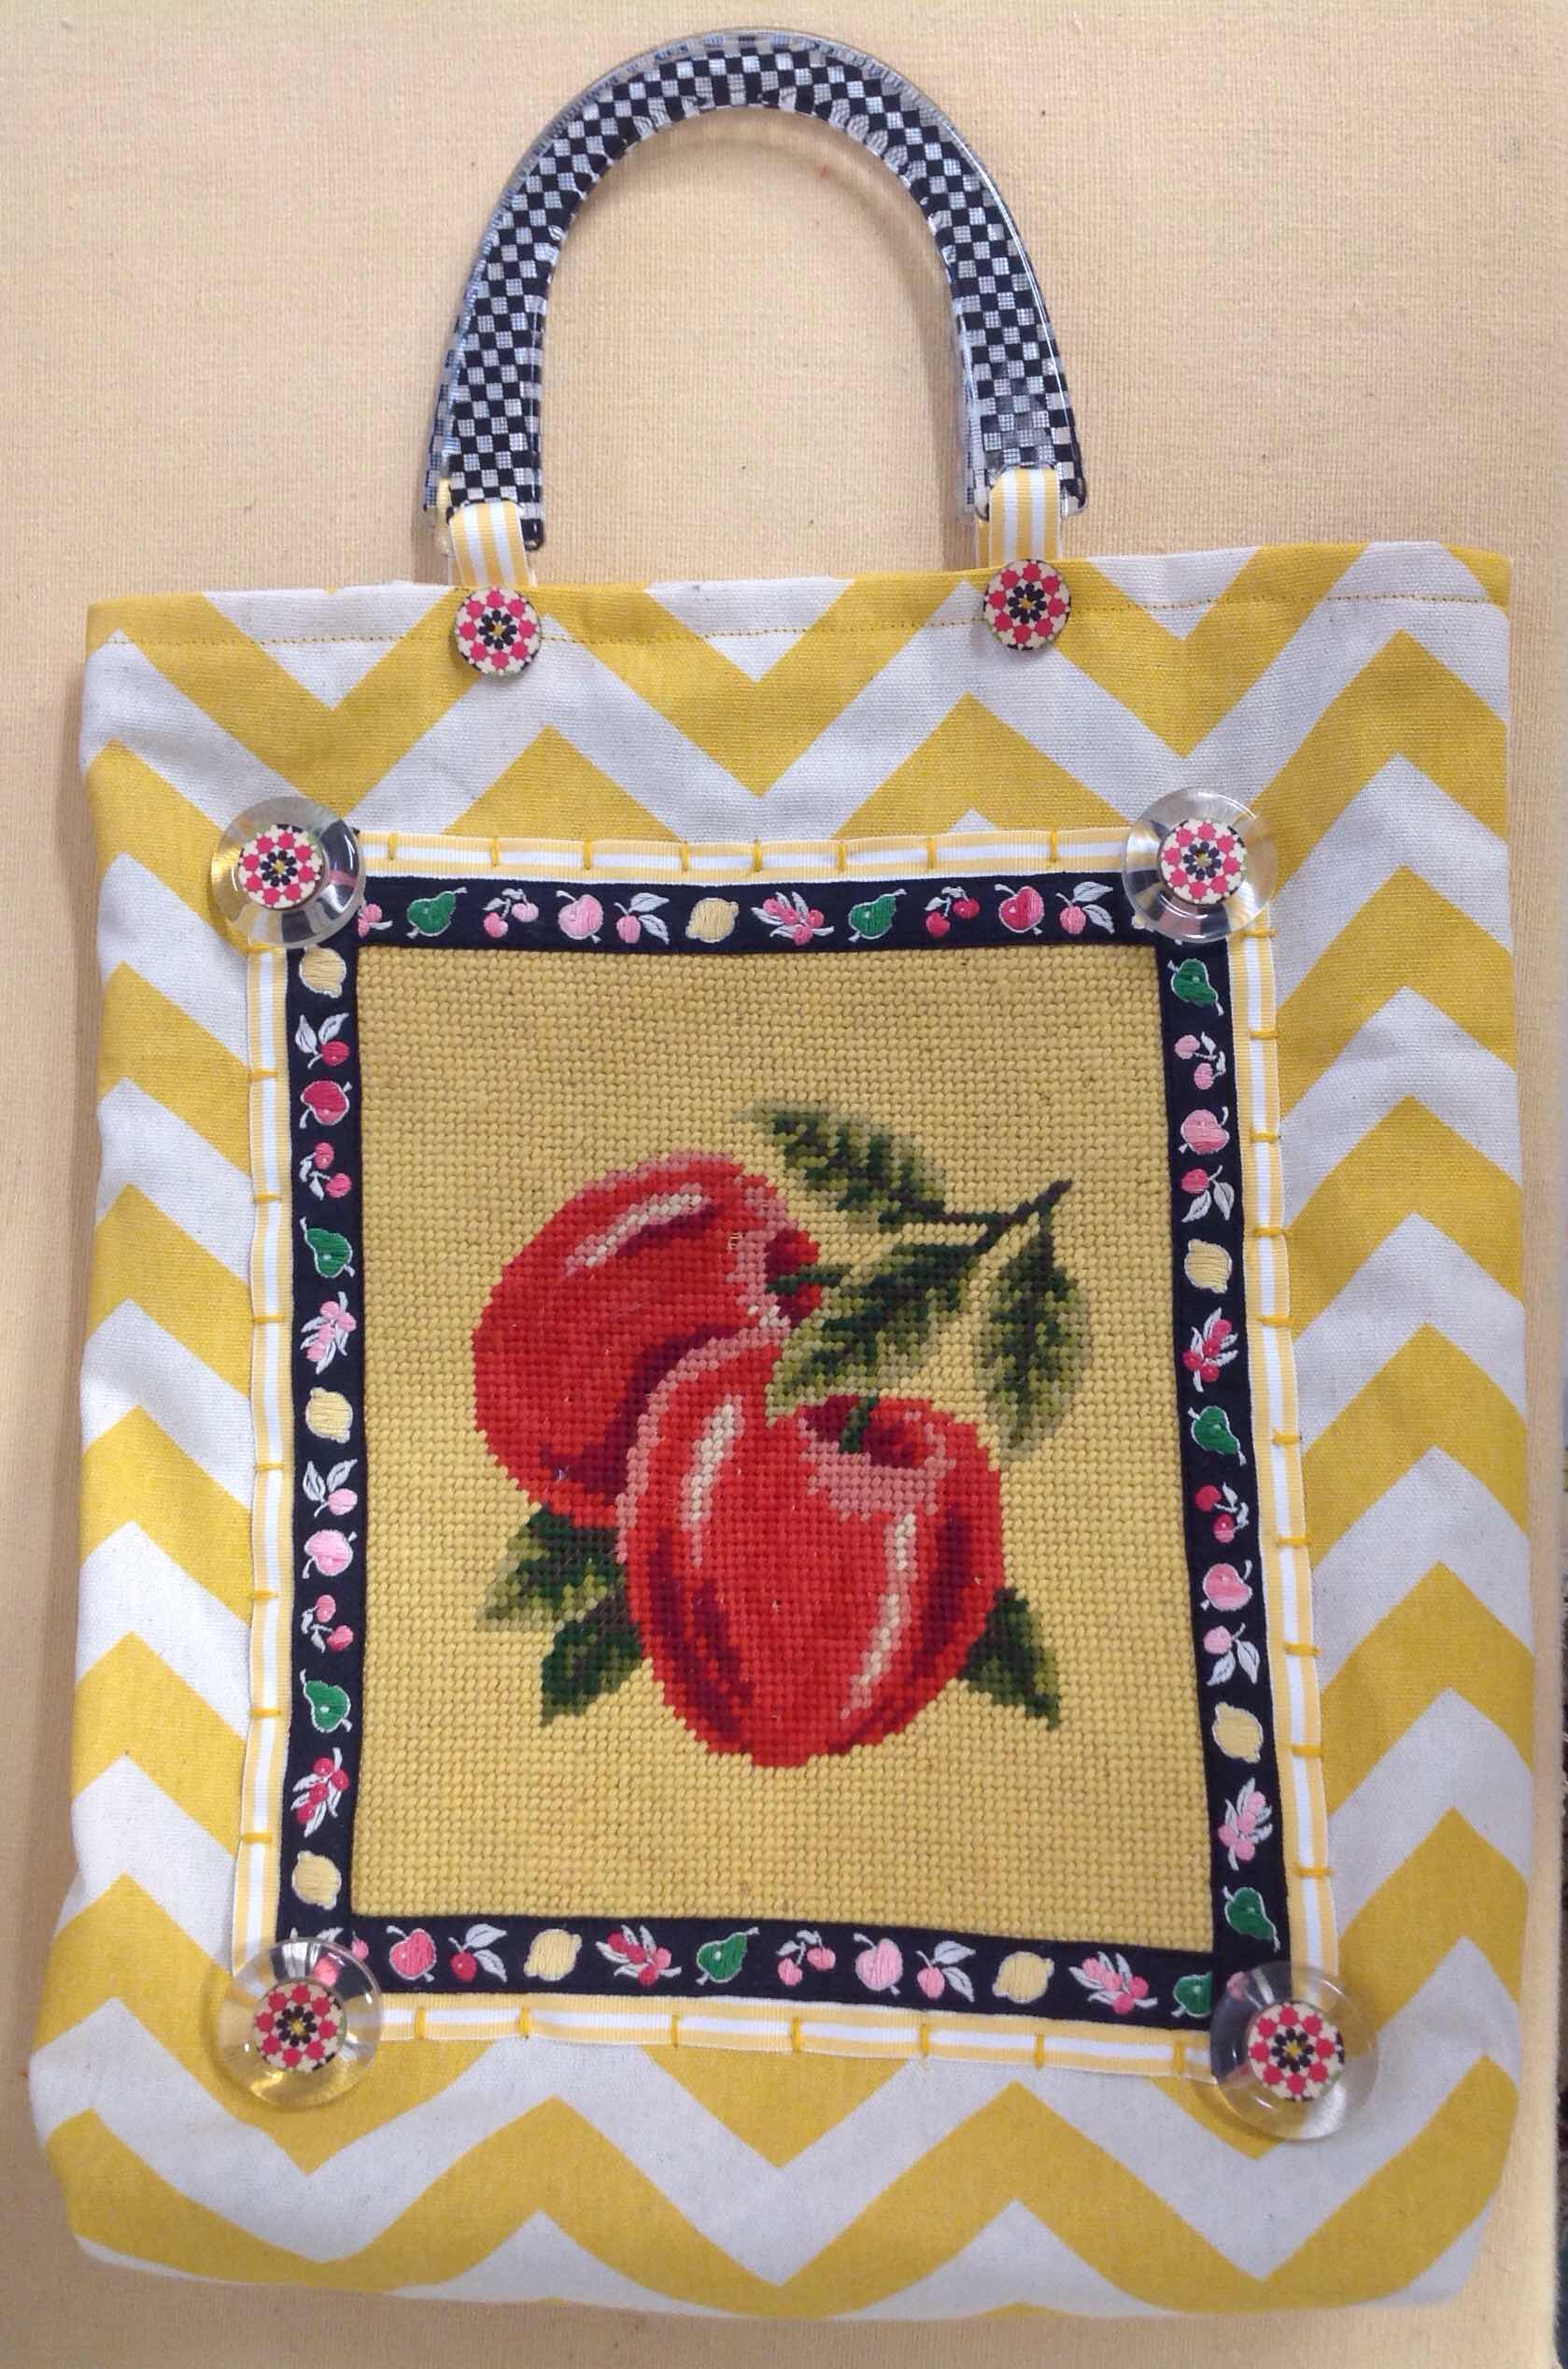
To attach those great handles, I cut four pieces of the yellow striped grosgrain ribbon and slipped them through the holes in the handles. I hand tacked each handle in place to the canvas bag. Then, I pinned the top of the liner and canvas bag together and stitched all around.

I finished with adding a button at the bases of each handle.

It was so much fun to take materials picked up at different time from various places to make a truly one of a kind project like this. I hope this inspires you to look at your treasure stash and make something totally you!

Stitch On!
Terry


Apple Handbag


My first project of the year 2019 is this Apple Handbag. All the materials used were purchased at flea markets, thrift stores or yard sales...except for the pretty wooden buttons which I bought online on "wish"....and they were super cheap! It was finding the fantastic black check acrylic handles that propelled me to finally make this bag.

To begin, I cut two pieces of canvas and two pieces of lining fabric into 15"x18" rectangles.

The apple needlepoint was in a frame (50 cents). I took the needlepoint out of the frame and cleaned it. I wanted to use trim on the needlepoint to cover the rough edges and to give me something easier to stitch to yellow chevron canvas.Would you just look at this fruit embroidered trim and the yellow striped grosgrain ribbon! Yes, these things were in my stash. I sewed the trims together to create a wider trim.


Next, I stitched the trim to the needlepoint.

I positioned the needlepoint panel onto the canvas fabric and used some fabric glue to tack it down. I used a bar-tack to stitch the piece to the canvas. I clipped the threads between the bar tacks.


I stacked the wooden button on top of a big clear plastic button and stitched them over the corners of the needlepoint panel. The wooden button was right for the design but it wasn't big enough. I love the added novelty of stacking buttons.
In my next post, I'll show how to finish the bag.