
The finished journal is 5 1/2 inches by 8 1/2 inches
which is half the size of copy paper. I have a nice paper cutter, so I can cut stacks at a time. I use a mix of everything- graph paper, tracing paper, craft and copy papers (my husband was a printer, so I have lots of leftovers from his work).

I used old file dividers as the top and bottom covers- they are stiff and have a nice matte gloss finish.( I saved the letter tabs to use in another project).
So, cut papers until you have a nice stack about 1/2 inch thick.
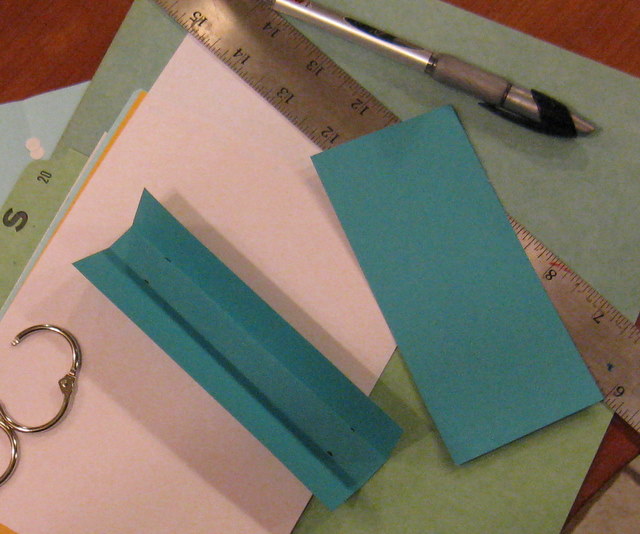
Then, make a header- I used two pieces of turquoise blue heavy card-stock paper for double the strength, cut them 5 1/2 inches long and 3 inches wide and glued them together. Fold the header so that it becomes the spine of the journal with 1/2 inch central fold. I used a hole punch to put two holes on each side of the header- be sure they line up. Then, I used the header as a guide as I punched holes in the covers and papers- a few at time.

Then I used 1 1/4 inch diameter binder rings to close them up. I glued the headers to the covers at this point.
I like to decorate the front of the journals with stitch samples, old UFO's, a cool fabric, etc.I also label some of them on the spine to keep track of some of the work I'm putting inside.
